
How to install WordPress locally in Docker (with Lando)
Docker and containerization technology in general has revolutionized the way we build, deploy and share our digital creations. If you are someone who likes to dabble with multiple programming languages and platforms, it's just a dream come true. Those days are long gone when you had to install development tools directly on your device risking both your privacy and security.
However, the purpose of docker-like technology is not just limited to coding. Writers, agencies and digital marketers can make use of the same technology to improve their workflow, reduce costs and try out multiple things at once. And WordPress is the most popular platform used for this purpose. So, let's learn how to install WordPress in Docker using Lando.
Table of Contents
Prerequisites
System Requirements
We'll be using Lando to install WordPress locally. And, because Lando is based on Docker, the system requirements are similar:
- Operating system: Windows 10 Pro+, macOS 10.13 or Linux with kernel version 4.x
- Docker engine: WSL 2 or Hyper-V Backend
- Hardware requirements: Min 2-core x86 processor with 4GB of RAM
Docker
Although Lando installer does come with Docker engine and dashboard, the packaged versions are not the newest. So, it's preferable to install Docker first separately. You can do this easily by downloading the installer from here and running on your computer.
If you get stuck, you can check the official documentation for installation and usage on Windows. After you install it successfully, just restart your PC and that's it. No need to learn any of the Docker commands.
Lando
Lando is a PaaS platform built on top of Docker. You can download it from their official website here. Because, they host their builds on GitHub, you can also go directly to the releases page to download the installer.
After downloading, double click and run the Lando installer. You might get a warning from Microsoft Defender. However, you can select 'Run anyway' as the application itself is completely safe. Also, you will get a message that Docker has been detected, so you can choose custom installation and not select 'Docker Desktop',
Installing WP locally
One of the best features that come with Lando are recipes. Basically, these are out of the box configurations to set up software (like WordPress) locally based on a typical best practices approach. So, we will be using one of these pre-built recipes. However, you are free to modify certain parameters if you wish.
For installation, follow these steps:
- Create a new folder named 'localwp' in a directory like 'C:\Users\\' to store WordPress and its associated files.
- Now, open command line (CMD) in Windows and point that to the above directory by entering the following command:
cd C:\Users\localwp
- Now that you are into the directory, run the following command in the CMD terminal:
lando init --source remote --remote-url https://wordpress.org/latest.tar.gz --recipe wordpress --webroot wordpress --name my-wordpress-app- If you have used Docker before, this would look familiar. What it basically does is take the latest WordPress archive and install it in a sub-directory named 'wordpress' and set it to webroot. You will also notice that we are using the WordPress recipe, This will basically set up Docker volumes with PHP 7.4, MySQL and Apache server and link them up with a network. If everything runs successfully, you will receive this message 'Your app has been initialized!'.
- After that, enter the following command:
lando startIt might give you some warning about version differences, however you can ignore that. At the end, you should get an output like this:

Good Job! You have now successfully installed WordPress locally running in Docker. All you have do now is create your actual WP website
Creating WordPress Site
From the command line, you can see the newly install app's address. In this instance it was 'http://my-wordpress-app.lndo.site'. Keep in mind, this is a local address and not accessible through the web.
- Enter the URL in a web browser and you should get the WordPress setup screen. Select the language and click on continue.
- By default, it does not come with 'wp-config.php' file. So, WP will request for certain details in order to set up the file for you. So, click on let's go and enter the following details:
Database name: wordpress
Username: wordpress
Password: wordpress
Database Host: database
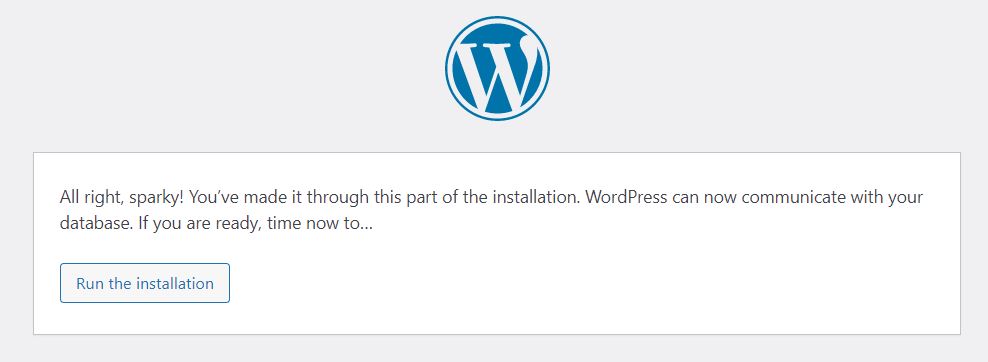
- If database connection is successful, you should see the button named 'Run the installation'. So, just click it.
- Next, it will ask you to provide Site title, Username, Password and e-mail address. You can also select to discourage search engines from indexing your site.
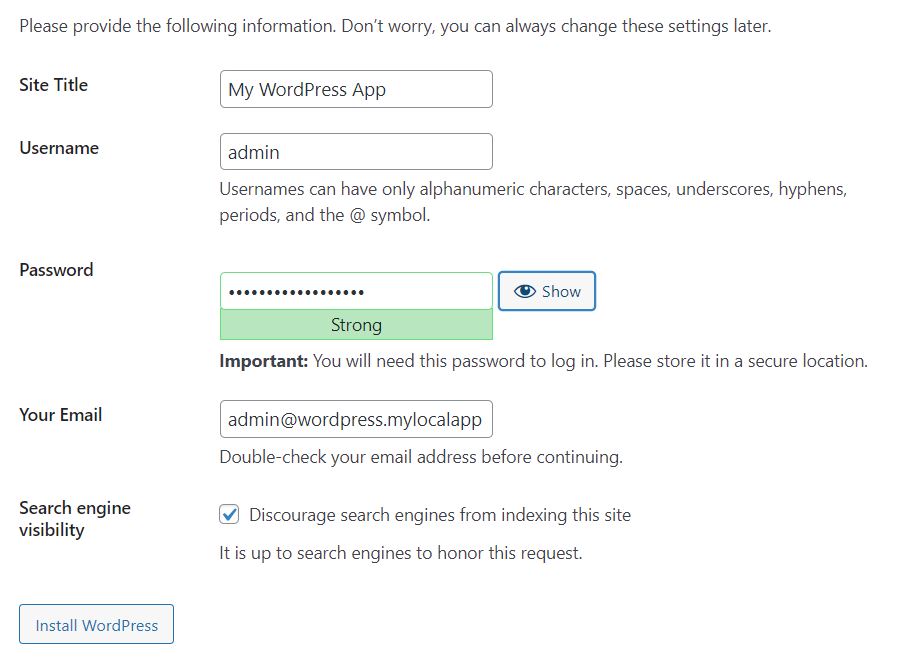
- After that, click on 'Install WordPress'. You should now see the success message:
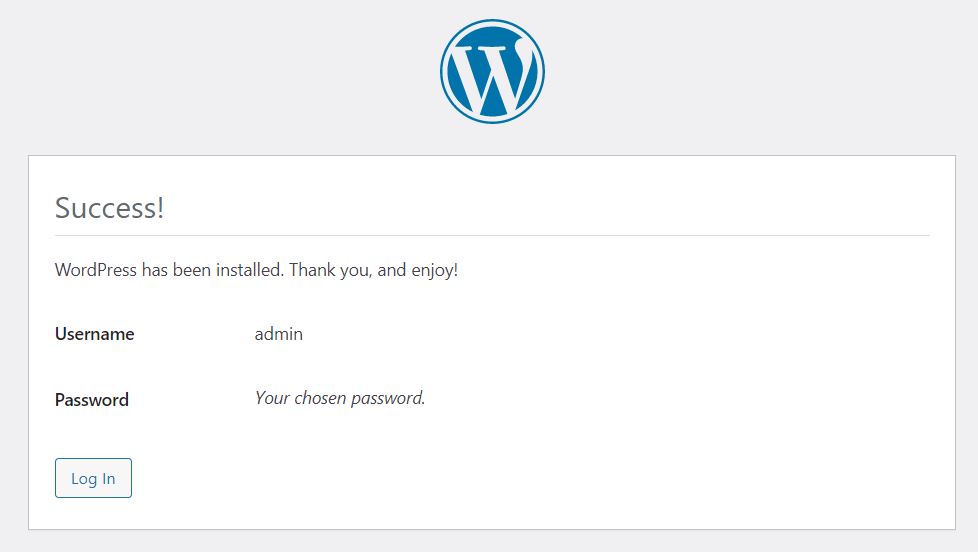
Click on the 'Log In' button, and you will able to access your WordPress Dashboard using the newly created user.
Final touches
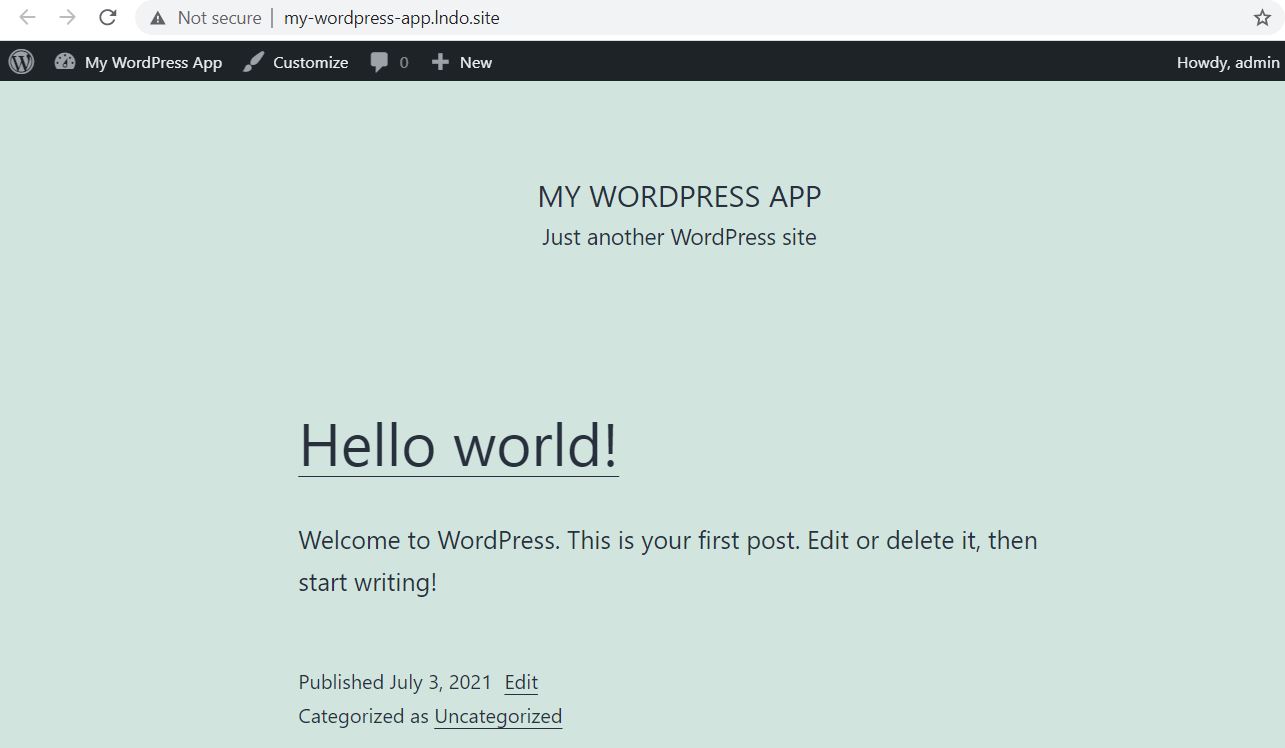
After installation, you will be able to access your site by directly going to the URL:
http://my-wordpress-app.lndo.site. Congratulations, your WP site is running locally in Docker.
- After you are done working on the website, it's a good practice to shut down the Docker containers. You can do this using the following command:
lando stop- If this is a just a demo site, and you want to delete the website and associated containers, you can run the following command:
lando destroy -yThat's it folks! Hope you enjoyed this article and it saves you time in setting up WordPress locally.