
Deploy a WordPress site on Cloudflare Pages
If you've been using WordPress to build your websites, it's very likely you have heard of Cloudflare. Famous for providing a free CDN, it also packs features to make your site faster and more secure. Pages is a new product from the Cloudflare team that rivals services like GitHub pages and countless other JAMstack platforms. What makes it really unique is the generous limits (*Unlimited) for hosting a website.
Using Pages (static) and it's sister product Cloudflare Workers, you can host your website (or any other site) for literally no cost. This article will cover all the necessary (and easy) steps to deploy your static WordPress site on Cloudflare Pages.
Table of Contents
Prerequisites
Following things are absolutely essential to follow this guide ;)
Hosted WordPress site
This might seem counter-intuitive as our end goal is to host the website on Cloudflare. However, to convert it into the required format, it's essential to have a live WordPress site. The easiest option would be to use a Shared hosting. However, if there is no budget, you can use an offline deployment option like LocalWP.
Cloudflare account
This is a no-brainer. In order to use the Pages service, you need a Cloudflare account. You can use your existing login or create new one for free. Fortunately, one account works with all of Cloudflare services.
GitHub account
Although the final site will be deployed on Cloudflare, we would need a service to easily store and update the website files. Also, Cloudflare Pages only supports GitHub repositories for now.
Making the site ready
A good plan goes a long way. That is why we will make sure we have everything before the deployment process.
Admin access
First, make sure you have a user account with administrator role for your WordPress site. We'll need it to add/remove plugins and change minor configuration. Next, remove any unnecessary plugin including the default ones like 'Akismet'. Also, it is best to delete any inactive themes.
I will be using a fresh WordPress site that I installed locally in Docker using Lando CLI. However, the steps would remain the same for a site hosted on a web server. For the demo, I installed the Astra theme and imported one of the starter templates and its content. The website looks like this:

Installing the Simply Static plugin
Although there are a few different ways for conversion, we will using one of the plugins available in the WordPress directory. Install a free version of the plugin from your WordPress installation:
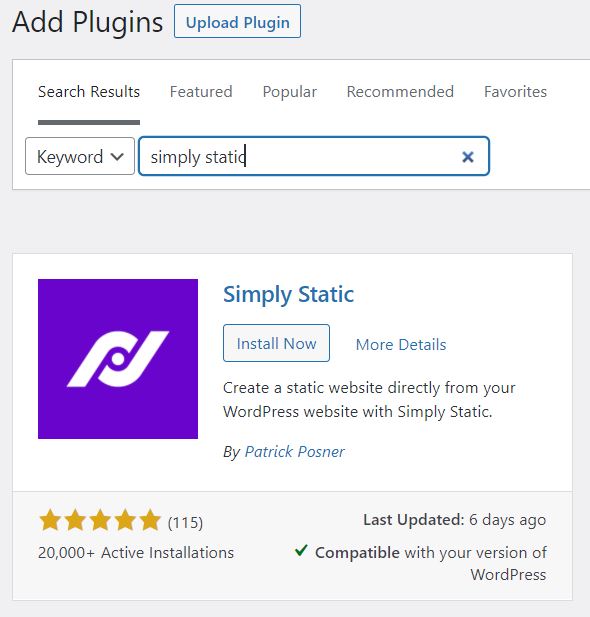
After installing and activating the plugin, go to 'Simply Static -> Diagnostics' from the sidebar in the WordPress dashboard. This page will display information about your WP installation and the underlying environment. If you get any warnings here, then the conversion might fail. In my case, the plugin complained about not having access to the file system. So, I had to create the directory manually after which the issue got resolved.

You could also enable debugging mode for troubleshooting.
Exporting static files
If everything looks good, you can proceed with the next step. Go to 'Simply Static -> Generate' and click on 'Generate Static Files'. Depending on the content of your website and the underlying hosting environment, this might take some time. After the conversion, you will find a link to the zipped packaged in the 'Activity Log'. Along with this, the page displays information such as any errors and status of the website files:
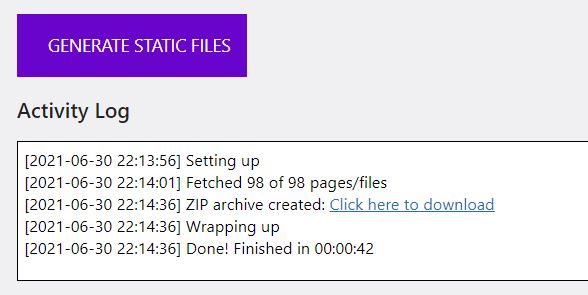
Download the file(s) onto your local computer and unzip the archive. We will need these later.
Getting everything together
Setting up our environment and configuring the WordPress website. Note, we will be converting our WordPress website into a static site.
Creating a GitHub repository
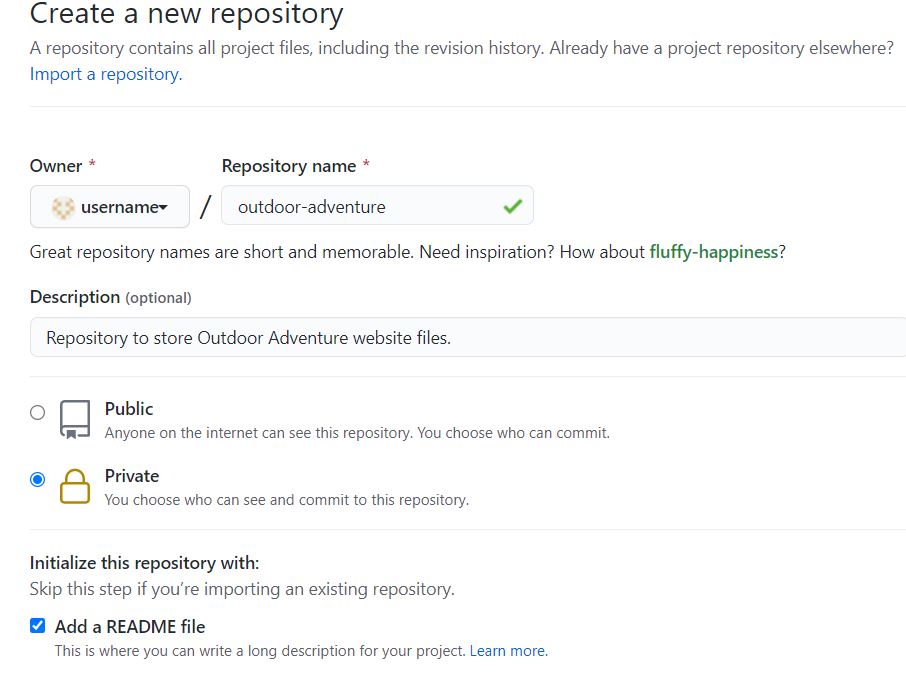
If you don't already have a GitHub account, you can make one for free by going here. After logging into your account, create a new repository by giving a unique name and an appropriate description. Select the Private option if you don't want to show the files publicly. Tick the 'Add a README file' in order to to initialize the repository.
Uploading files to the repo
Go to the repository and click on 'Add file -> Upload files'. Now, drag the files from inside the unzipped directory into your web browser.

After all the files have been upload, click on the 'Commit changes' button to save the files to the main branch. You can also put in the optional description. The processing of files may take some time.
Setting up Cloudflare and deploying website
Head over to the Cloudflare Pages site and login with your user account. After that, click on 'Create a project'. This will then ask you to link your GitHub account. Go through the authorisation flow and provide the necessary permissions. After this is done, you will see your GitHub repositories. Select the one that is applicable for the website and click on 'Begin setup'.
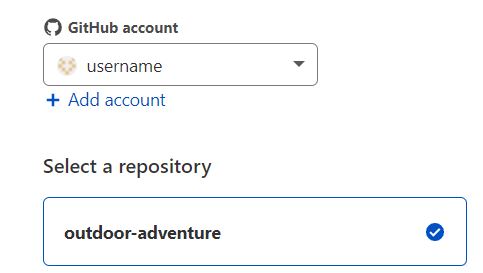
The next page will provide few options to configure the build configuration. By default, 'main' branch will be selected from your repo. Normally, you won't have to change anything on this page. Just click on 'Save and Deploy' and the build process will start.
You will now see a page with deployment steps and required libraries being installed. This can take anything from 2 mins to half an hour, but is usually quicker. After everything is done, you should see a 'Success' message and a newly created link to your website.

Finally, go to the provided link and check out your website. If you did everything right, you should get the exact same appearance and content. As, this is now a static site, you will notice that it loads much faster. You could see my live example here.
Linking your custom domain
Fortunately, Cloudflare has a built-in feature to link your top-level domain to the Pages project completely free.
Add your domain to Cloudflare
First. you will have to add your website's domain to Cloudflare. This process can vary depending on how you manage your DNS. However, the easier way would be switch your domain's nameservers to the ones provided by Cloudflare.
Configuring the Pages project
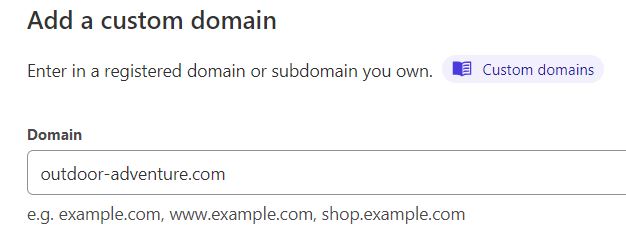
Go to the project that you deployed and open the 'Custom domains' tab. Enter your domain name and click on Continue. If the domain has already been added to Cloudflare, this will be set up directly. Else, it will ask you to add the domain to Cloudflare first.
Depending on the Registrar, DNS propagation might take some time. After this, you will be able to access the website directly on your custom domain.
So, that was our final step! Hope you liked this guide. Enjoy :)